
HOME IMPROVEMENT GUIDE
Kitchen Cabinet Refacing: The Smartest Way to Transform Your Kitchen Without a Full Remodel
By CabDoor Direct · 10 min read
A complete guide to transforming your kitchen with new cabinet doors — without the cost or disruption of a full remodel.
A kitchen remodel is one of the most valuable upgrades a homeowner can make—but it can also be one of the most expensive and disruptive. Fortunately, there's a smarter, more cost-effective solution that can dramatically transform your kitchen without tearing everything out: kitchen cabinet refacing.
By replacing cabinet doors, drawer fronts, hinges, and hardware while keeping the existing cabinet boxes in place, homeowners can achieve the appearance of a full custom kitchen remodel at a fraction of the cost.
Whether your goal is to modernize outdated cabinetry, improve your home's resale value, or create a kitchen you truly love spending time in, cabinet refacing offers one of the highest-impact kitchen upgrades available today.
What Is Kitchen Cabinet Refacing?
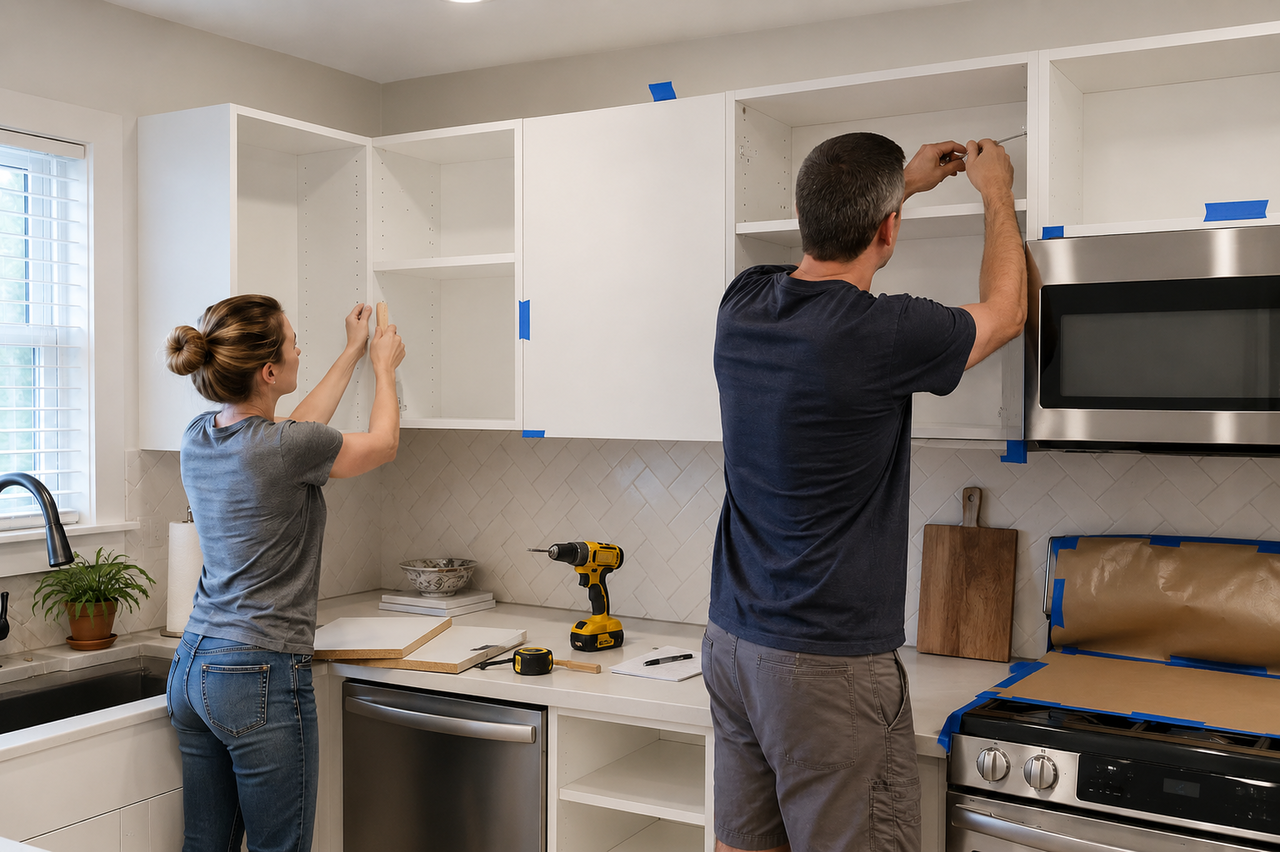
Kitchen cabinet refacing is the process of updating existing cabinetry by replacing the visible components while leaving the cabinet boxes intact.
A typical cabinet refacing project includes:
New cabinet doors
New drawer fronts
Concealed hinges
Cabinet hardware
Matching veneer or painted face frames
Because cabinet doors are the most visible element of the kitchen, replacing them creates a dramatic transformation without the expense and demolition associated with a full cabinet replacement.
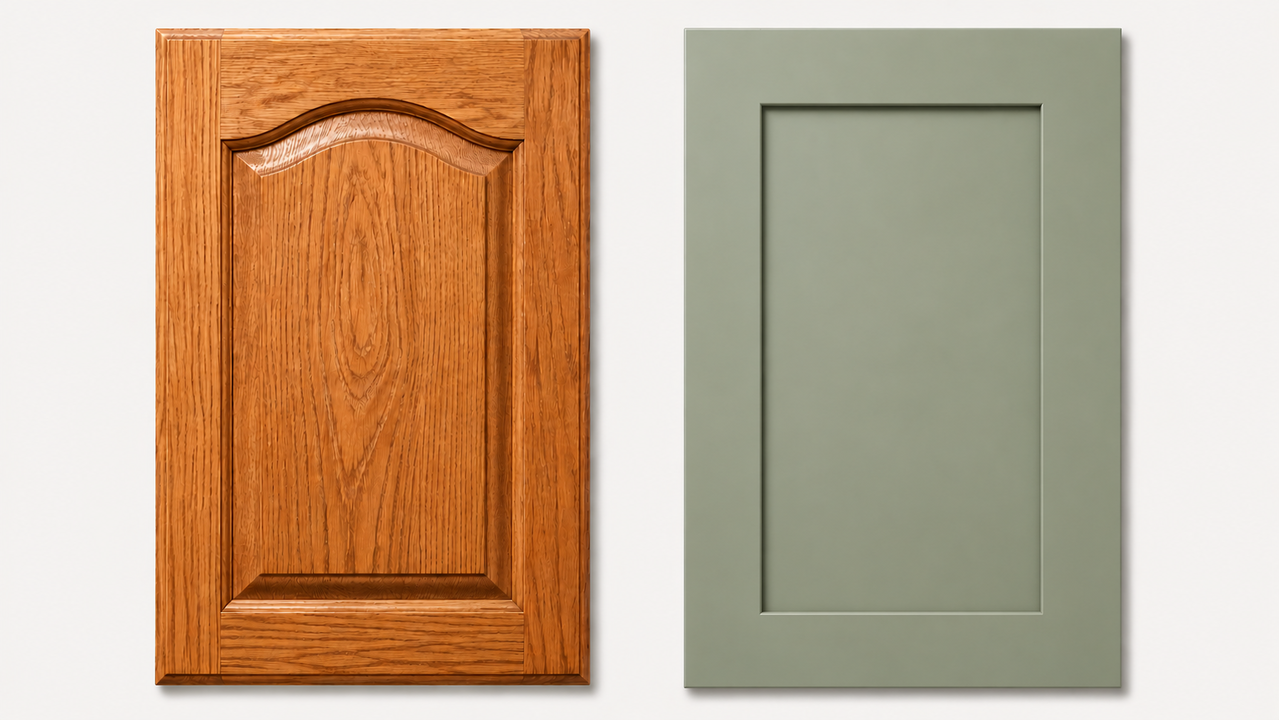
Popular cabinet door styles for refacing include:
Shaker cabinet doors
Euro Shaker cabinet doors
Slim Shaker doors
Slab cabinet doors
Painted cabinet doors
Natural wood grain finishes
Why Homeowners Choose Cabinet Refacing
Lower Remodeling Costs
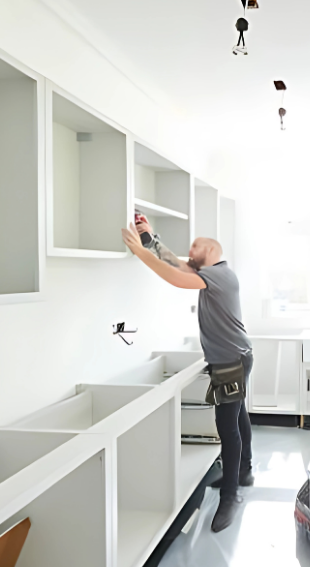
One of the biggest advantages of cabinet refacing is cost savings. A full kitchen remodel can quickly become expensive once demolition, new cabinetry, countertops, plumbing, flooring, and labor are involved. Cabinet refacing eliminates many of those costs while still delivering a major visual transformation. Because the existing cabinet boxes stay in place, homeowners save on:
Demolition
Labor
Installation time
Material waste
Plumbing and electrical modifications
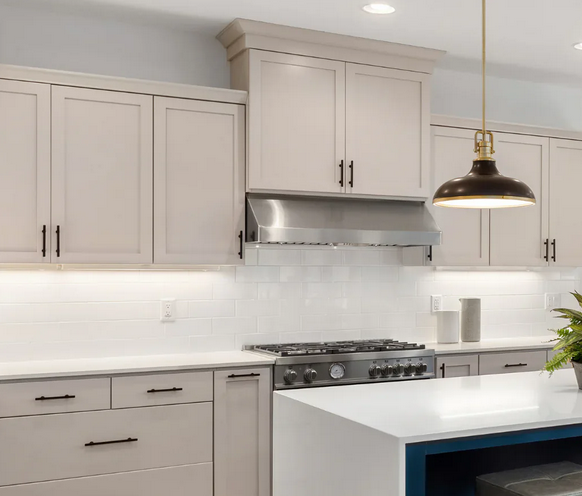
For many kitchens, replacing cabinet doors provides the look of a custom renovation without the overwhelming price tag.
Excellent Return on Investment
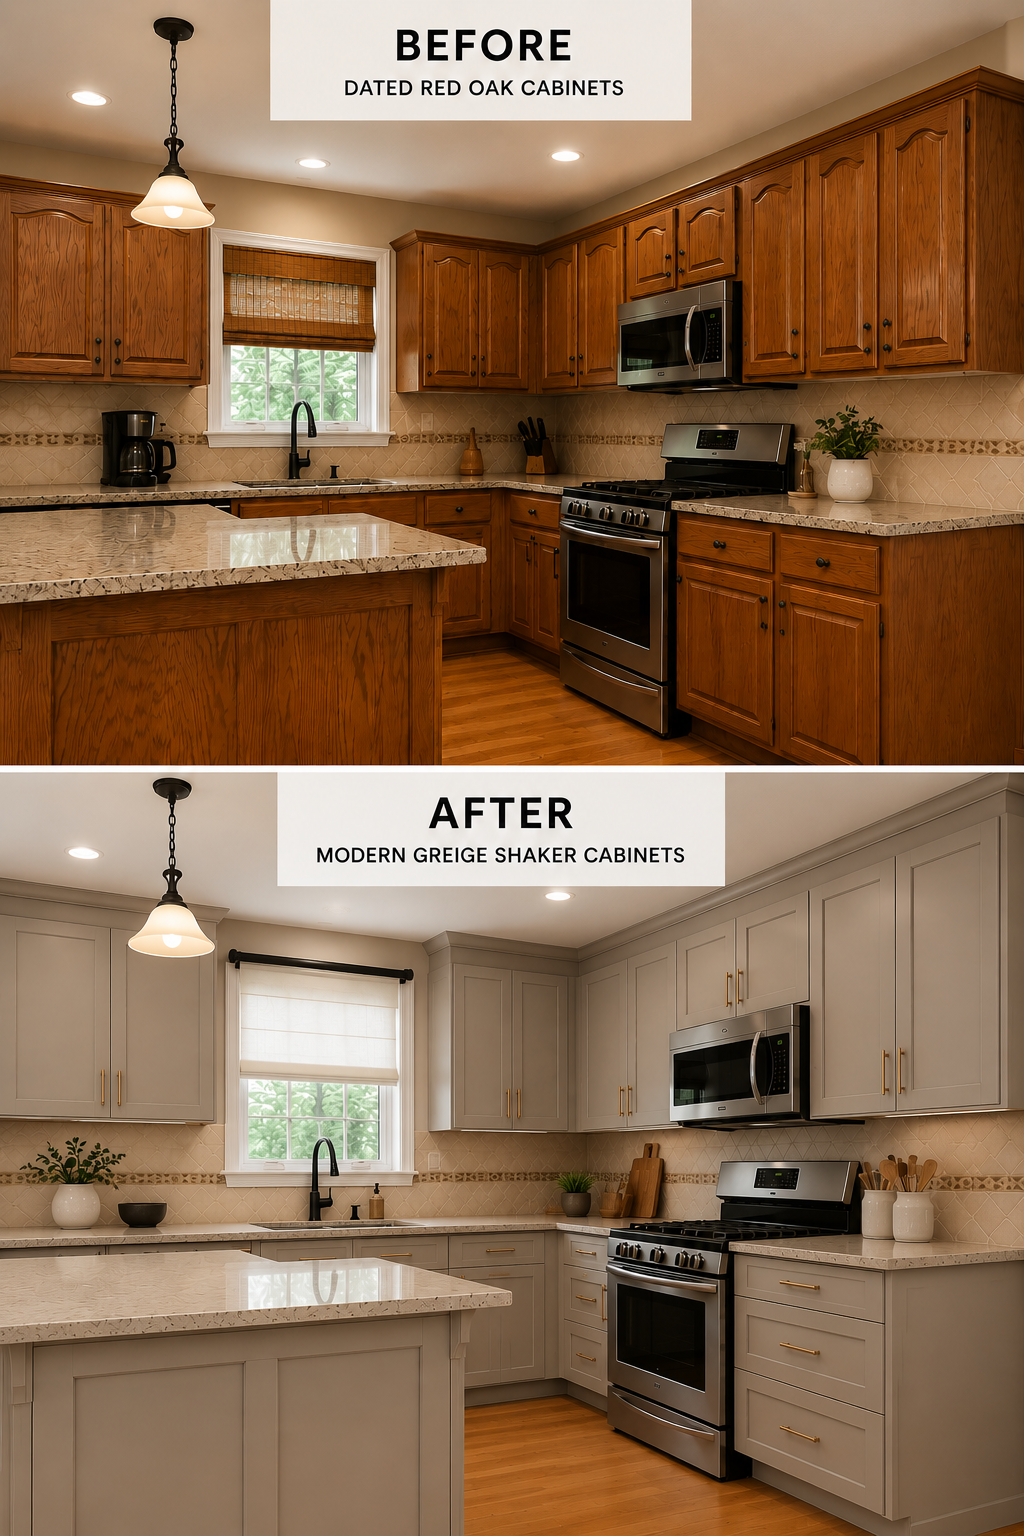
Updated kitchens consistently improve home value and buyer appeal. New cabinet doors help:
Modernize older kitchens
Improve resale presentation
Create a move-in-ready appearance
Increase perceived home value
Minor kitchen upgrades often outperform luxury remodels in ROI percentage because they create substantial visual impact without excessive spending.
Tools and Materials Needed
For the most part, DIY cabinet refacing only requires basic tools many homeowners already have. Depending on the hinge system you choose, you may also need a concealed hinge jig or Forstner drill bit.
Tools
Screw gun
Forstner drill bit or concealed hinge jig
Pencil
Speed square
Measuring tape
Clamps
Level
Sander
Paint brush
Materials
New custom cabinet doors
Hinges
Paint or stain
Cabinet knobs or pulls
Wood veneer
Sandpaper
Wood filler or repair kit
Rubber gloves
Face mask
Step-by-Step Kitchen Cabinet Refacing Process
Learning how to reface kitchen cabinets yourself requires careful planning, accurate measurements, and attention to detail. Precise measurements are especially important because properly fitted cabinet doors are essential for a professional-looking result.
1. Remove Old Doors and Hardware
The first step in cabinet refacing is removing the existing cabinet doors, drawer fronts, hinges, and hardware. If you plan to reuse any hardware:
Label each hinge location with painter's tape
Store screws carefully
Organize hardware by cabinet location
If you are replacing drawer boxes but reusing drawer slides, remove them carefully and set them aside. This stage prepares the kitchen for a clean installation process and helps avoid confusion during reassembly.

2. Prepare the Cabinet Boxes
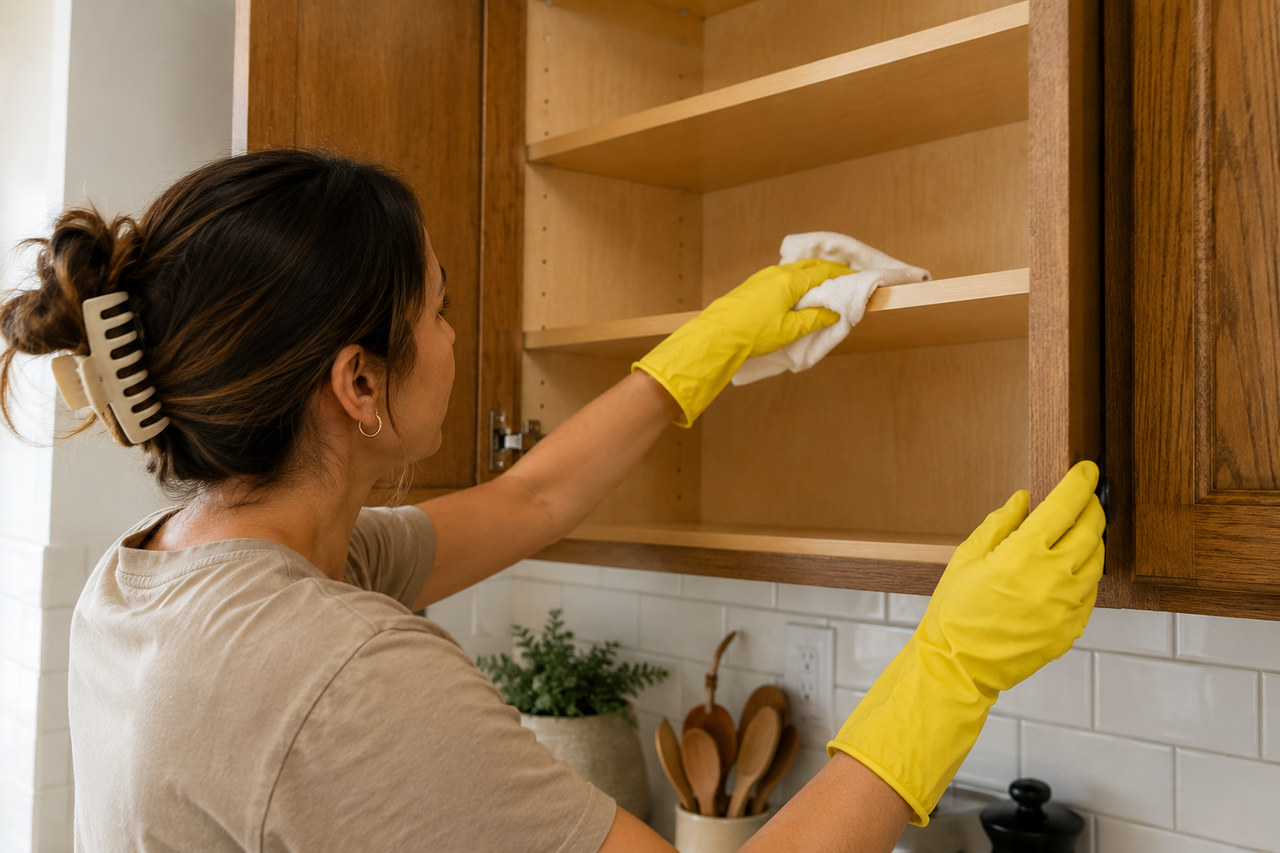
Proper preparation is one of the most important parts of a successful cabinet refacing project. After removing the old doors:
Clean cabinet boxes thoroughly
Remove grease and residue
Sand rough surfaces
Repair dents or gouges with wood filler
Next, check the cabinet boxes for square using a speed square. If needed, clamps can help gently shift the cabinet into alignment. To match the appearance of the new cabinet doors, homeowners often:
Paint the cabinet face frames
Apply matching wood veneer
Touch up visible cabinet surfaces
A clean, smooth cabinet structure creates a much more professional final appearance.
3. Measure for New Cabinet Doors
Accurate measurements are critical when ordering replacement cabinet doors. Before ordering:
Determine whether cabinets are inset or overlay
Calculate the correct overlay size
Carefully measure each opening
Double-check all dimensions
For example, a partial overlay cabinet with 1 inch of exposed face frame typically uses a ½-inch concealed overlay hinge. Custom cabinet doors provide the best results because they are built to exact dimensions, helping achieve:
Cleaner reveals
More consistent spacing
Better alignment
A more custom appearance


4. Apply the Finish to the New Doors
Many custom cabinet doors arrive prefinished and ready to install. However, unfinished cabinet doors allow homeowners to fully customize the finish. If applying your own finish:
Work in a well-ventilated space
Sand lightly between coats
Allow proper drying time
Apply two coats of primer before painting
Popular cabinet finishes include:
Painted white cabinet doors
Natural oak finishes
Warm taupe tones
Deep green cabinetry
Modern navy blue finishes
5. Install Hinges on the New Doors
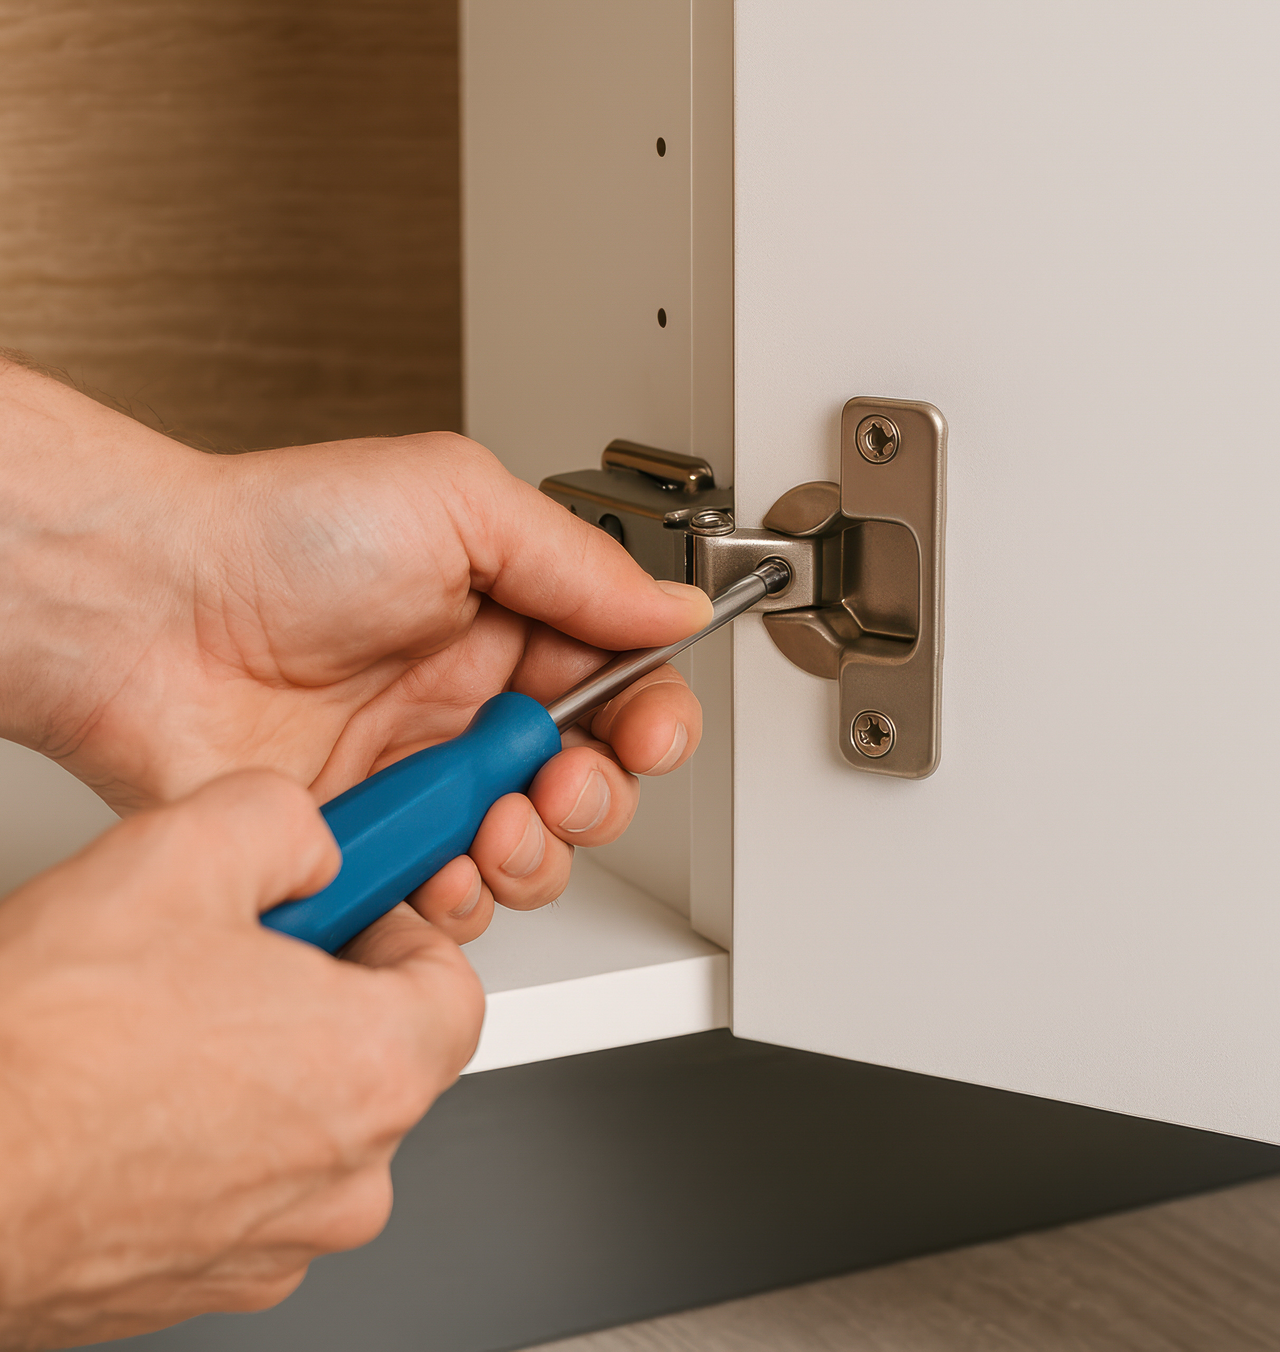
Once the doors arrive, the next step is installing concealed hinges. Carefully:
Mark hinge locations
Pre-drill hinge cup holes
Attach hinge plates securely
Follow manufacturer spacing guidelines
Concealed hinge alignment can take patience, especially for DIY homeowners, but proper installation creates:
Smooth operation
Soft-close performance
Clean alignment
Professional functionality

6. Attach Doors and Drawer Fronts
Once the hinges and mounting plates are installed, attach the cabinet doors and drawer fronts. Most modern concealed hinges clip directly into the mounting plates, making installation faster and easier than traditional exposed hinges. Take your time during this stage to ensure:
Even spacing
Proper reveals
Smooth operation
Consistent alignment
7. Adjust Alignment and Door Gaps
Once all cabinet doors are attached, step back and inspect:
Door spacing
Reveals
Alignment
Hinge movement
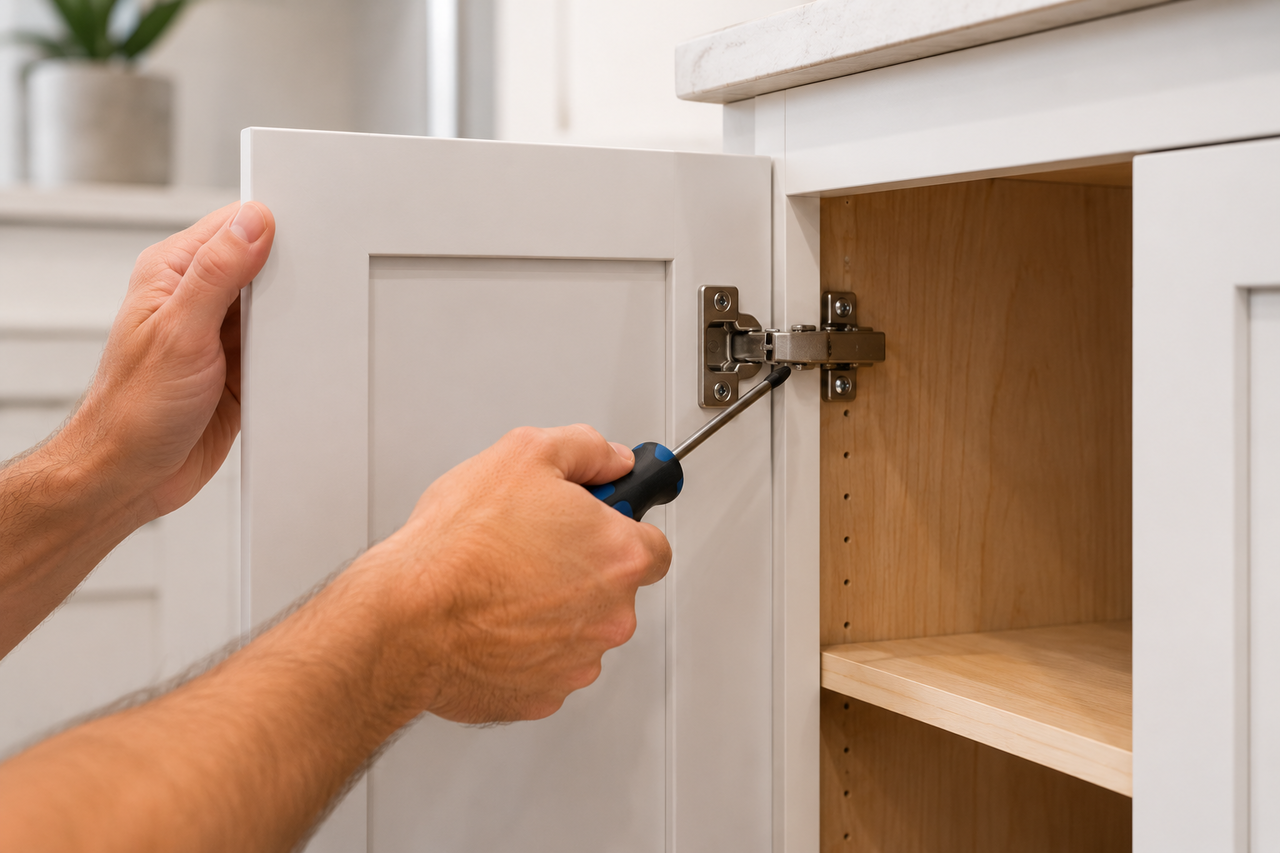
Use a screwdriver and level to make hinge adjustments until:
Gaps appear even
Doors open smoothly
Cabinet doors do not rub together
Drawer fronts align properly
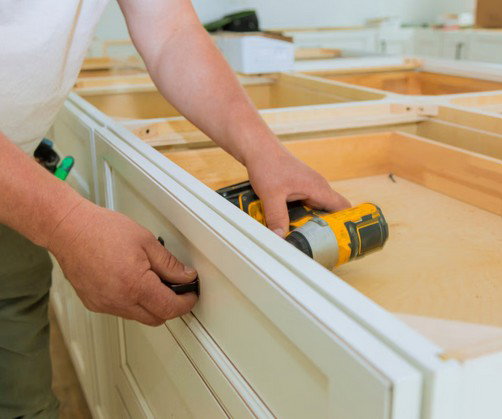
This final alignment process is what gives refaced cabinets a polished, professional appearance.
8. Apply the Finishing Touches
The final stage of cabinet refacing includes:
Installing cabinet hardware
Adding trim or mouldings
Making final adjustments
Cleaning surfaces
Inspecting the overall finish
Small finishing details can make a dramatic difference in the final appearance of the kitchen. Modern cabinet hardware, crown moulding, light rails, and decorative trim help elevate the kitchen from a simple update to a fully customized space.
Final Thoughts
Kitchen cabinet refacing offers homeowners one of the smartest ways to transform a kitchen without the cost, stress, and disruption of a full remodel.
By replacing cabinet doors, updating hardware, and refreshing visible finishes, homeowners can create a kitchen that feels modern, custom, and beautifully updated—while maintaining a far more manageable budget.
Whether you prefer timeless Shaker cabinet doors, sleek slab cabinetry, or modern Euro Shaker styles, cabinet refacing delivers a dramatic transformation with strong long-term value and exceptional visual impact.
Ready to Transform Your Kitchen?
Shop our full collection of custom cabinet doors — Shaker, Slab, Euro Shaker, and more. Delivered direct to your door.
